mn create-app example.micronaut.micronautguide \
    --features=aws-lambda,amazon-api-gateway \
    --build=gradle \
    --lang=java \
--test=junitDeploy a Micronaut application to AWS Lambda Java 11 Runtime
Learn how to distribute a Micronaut application to AWS Lambda 11 Runtime
Authors: Sergio del Amo
Micronaut Version: 4.1.2
1. Getting Started
In this guide, we will create a Micronaut application written in Java.
2. What you will need
To complete this guide, you will need the following:
-
Some time on your hands
-
A decent text editor or IDE (e.g. Intellij IDEA)
-
JDK 17 or greater installed with
JAVA_HOMEconfigured appropriately
3. Solution
We recommend that you follow the instructions in the next sections and create the application step by step. However, you can go right to the completed example.
-
Download and unzip the source
4. Writing the Application
Create an application using the Micronaut Command Line Interface or with Micronaut Launch.
If you don’t specify the --build argument, Gradle is used as the build tool. If you don’t specify the --lang argument, Java is used as the language.If you don’t specify the --test argument, JUnit is used for Java and Kotlin, and Spock is used for Groovy.
|
The previous command creates a Micronaut application with the default package example.micronaut in a directory named micronautguide.
If you use Micronaut Launch, select Micronaut Application as application type and add aws-lambda, and amazon-api-gateway features.
| If you have an existing Micronaut application and want to add the functionality described here, you can view the dependency and configuration changes from the specified features and apply those changes to your application. |
The generated application contains a HomeController. It responds to POST requests to /.
src/main/java/example/micronaut/HomeController.java
package example.micronaut;
import io.micronaut.http.annotation.Controller;
import io.micronaut.http.annotation.Get;
import java.util.Collections;
import java.util.Map;

@Controller
public class HomeController {

    @Get
    public Map<String, Object> index() {
        return Collections.singletonMap("message", "Hello World");
    }
}-
The class is defined as a controller with the @Controller annotation mapped to the path
/. -
The
@Getannotation maps HTTP requests to/to theindexmethod.
The generated tests illustrates how the code works when the lambda gets invoked:
src/test/java/example/micronaut/HomeControllerTest.java
package example.micronaut;
import com.amazonaws.services.lambda.runtime.events.APIGatewayProxyRequestEvent;
import io.micronaut.function.aws.proxy.payload1.ApiGatewayProxyRequestEventFunction;
import io.micronaut.function.aws.proxy.MockLambdaContext;
import io.micronaut.http.HttpMethod;
import io.micronaut.http.HttpStatus;
import org.junit.jupiter.api.AfterAll;
import org.junit.jupiter.api.BeforeAll;
import org.junit.jupiter.api.Test;

import static org.junit.jupiter.api.Assertions.assertEquals;

class HomeControllerTest {
    private static ApiGatewayProxyRequestEventFunction handler;

    @BeforeAll
    static void setupSpec() {
        handler = new ApiGatewayProxyRequestEventFunction();
    }
    @AfterAll
    static void cleanupSpec() {
        handler.getApplicationContext().close();
    }

    @Test
    void testHandler() {
        APIGatewayProxyRequestEvent request = new APIGatewayProxyRequestEvent();
        request.setPath("/");
        request.setHttpMethod(HttpMethod.GET.toString());
        var response = handler.handleRequest(request, new MockLambdaContext());

        assertEquals(HttpStatus.OK.getCode(), response.getStatusCode());
        assertEquals("{\"message\":\"Hello World\"}",  response.getBody());
    }
}-
When you instantiate the Handler, the application context starts.
-
Remember to close your application context when you end your test. You can use your handler to obtain it.
-
You don’t invoke the controller directly. Instead, your handler receives an AWS Proxy Request event which it is routed transparently to your controller.
5. Testing the Application
To run the tests:
./gradlew testThen open build/reports/tests/test/index.html in a browser to see the results.
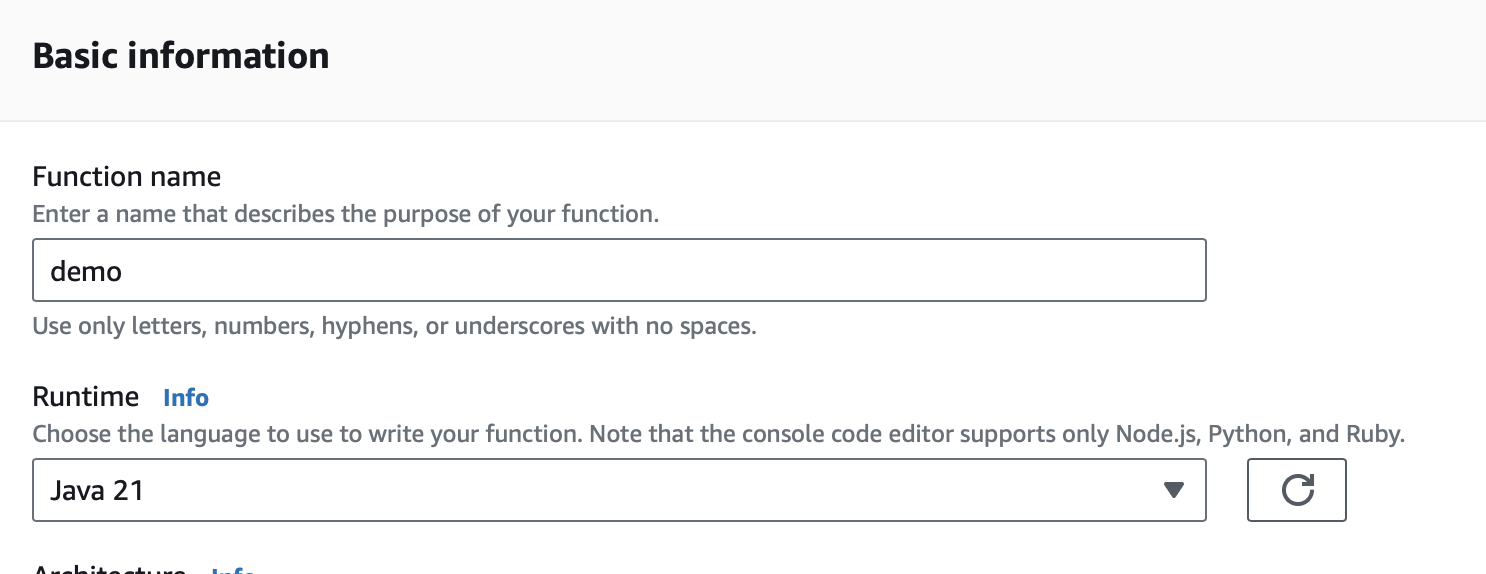
6. Lambda
Create a Lambda Function. As a runtime, select Java 11 (Correto).
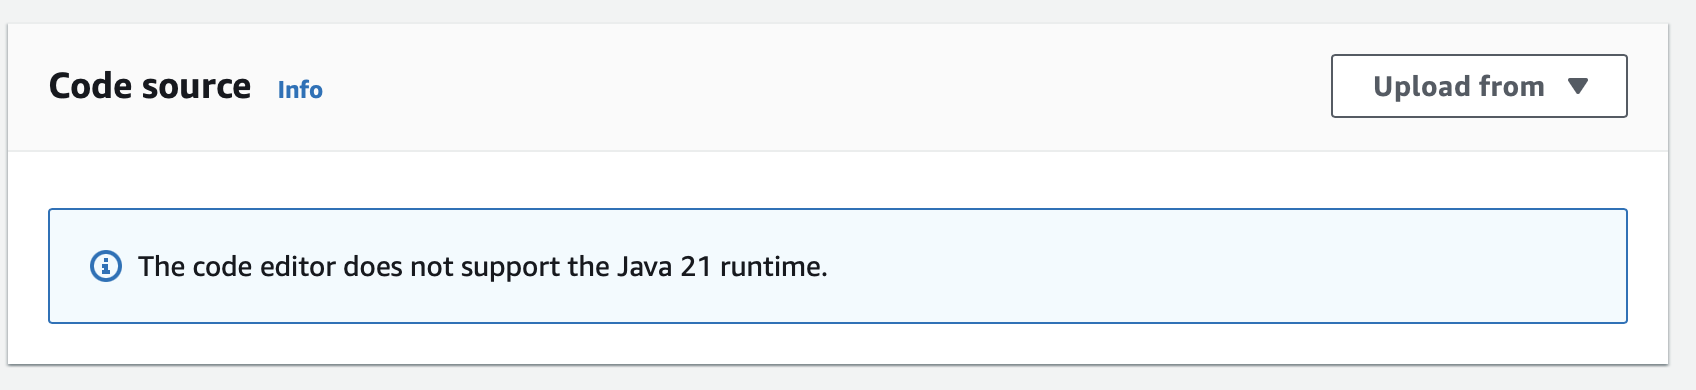
6.1. Upload Code
Create an executable jar including all dependencies:
./gradlew shadowJarUpload it:
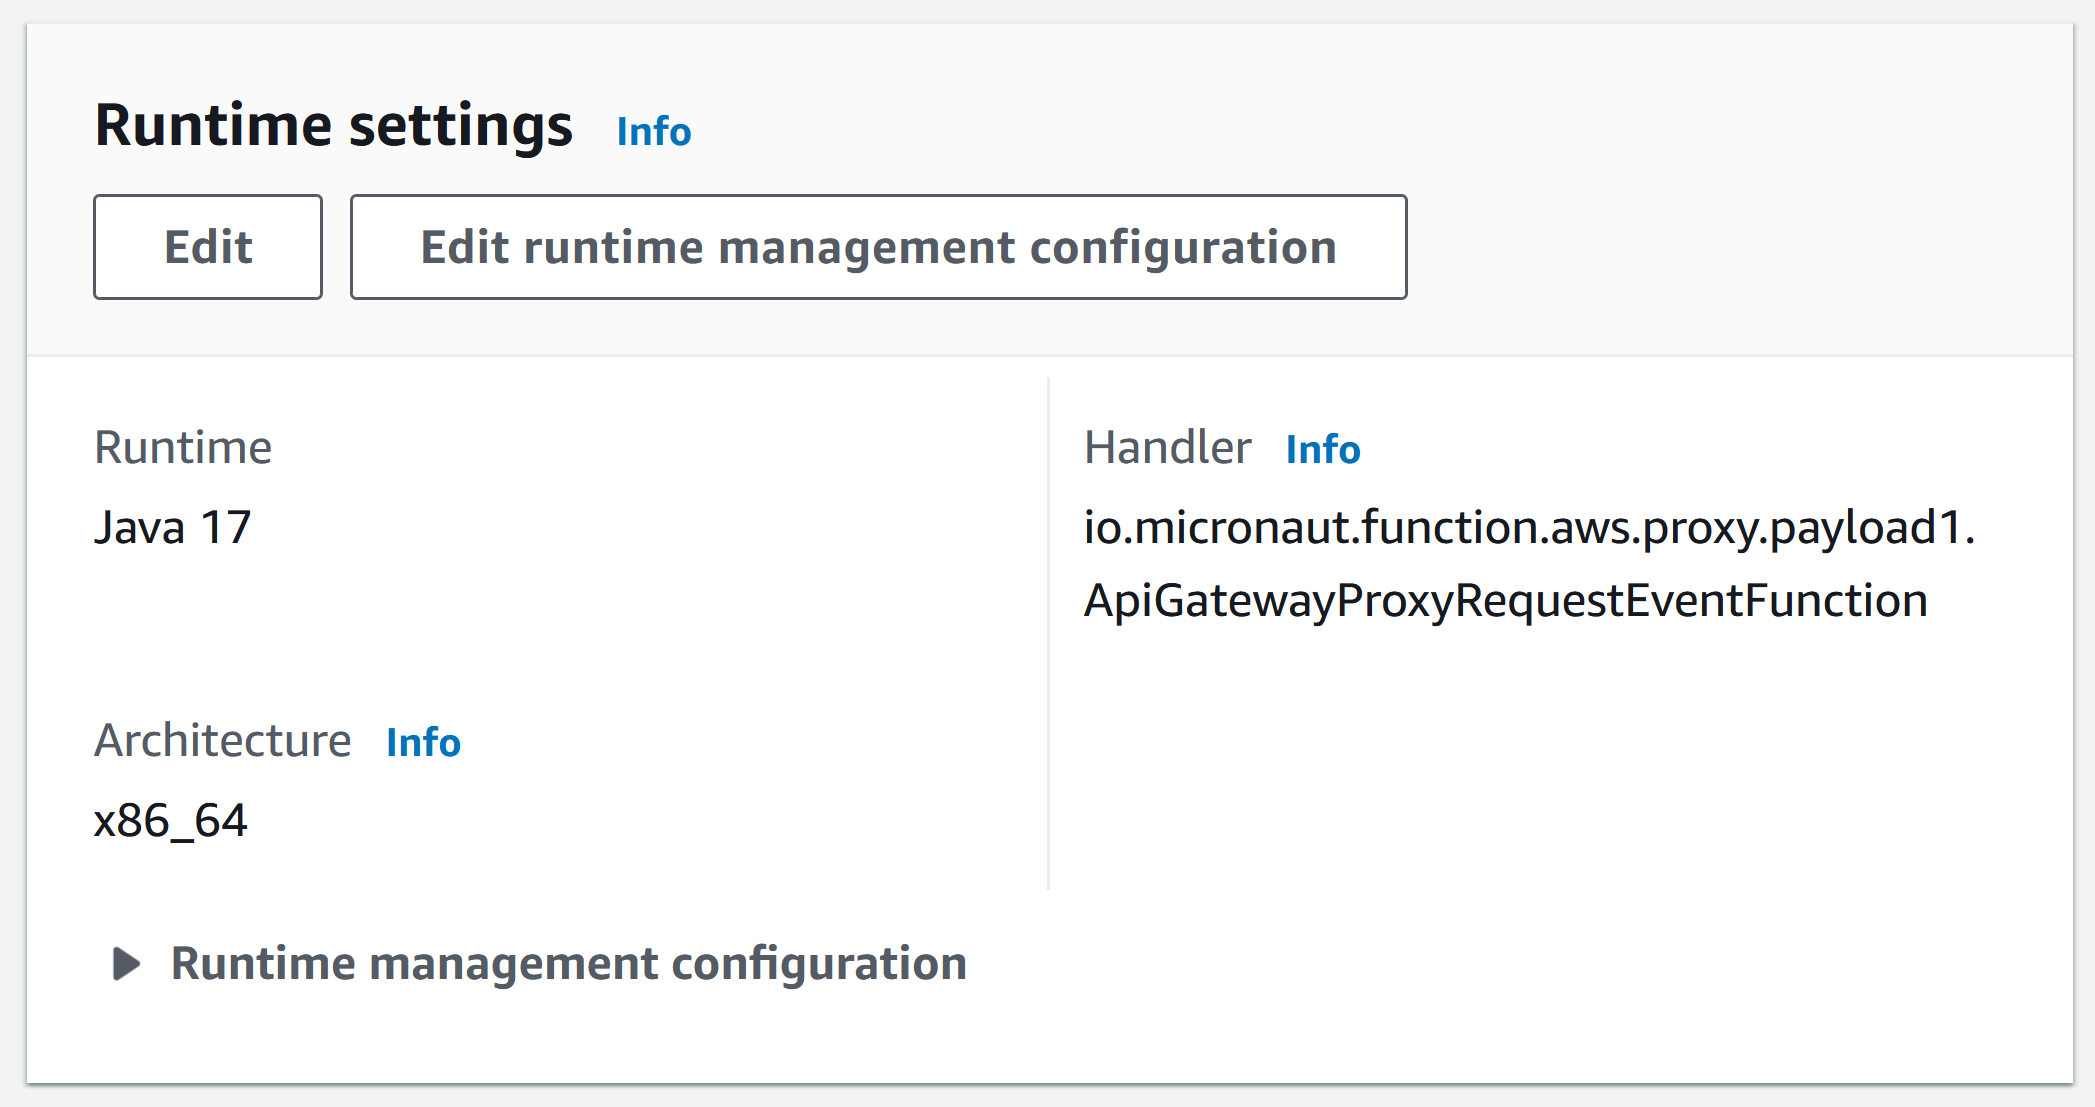
6.2. Handler
As Handler, set:
io.micronaut.function.aws.proxy.MicronautLambdaHandler
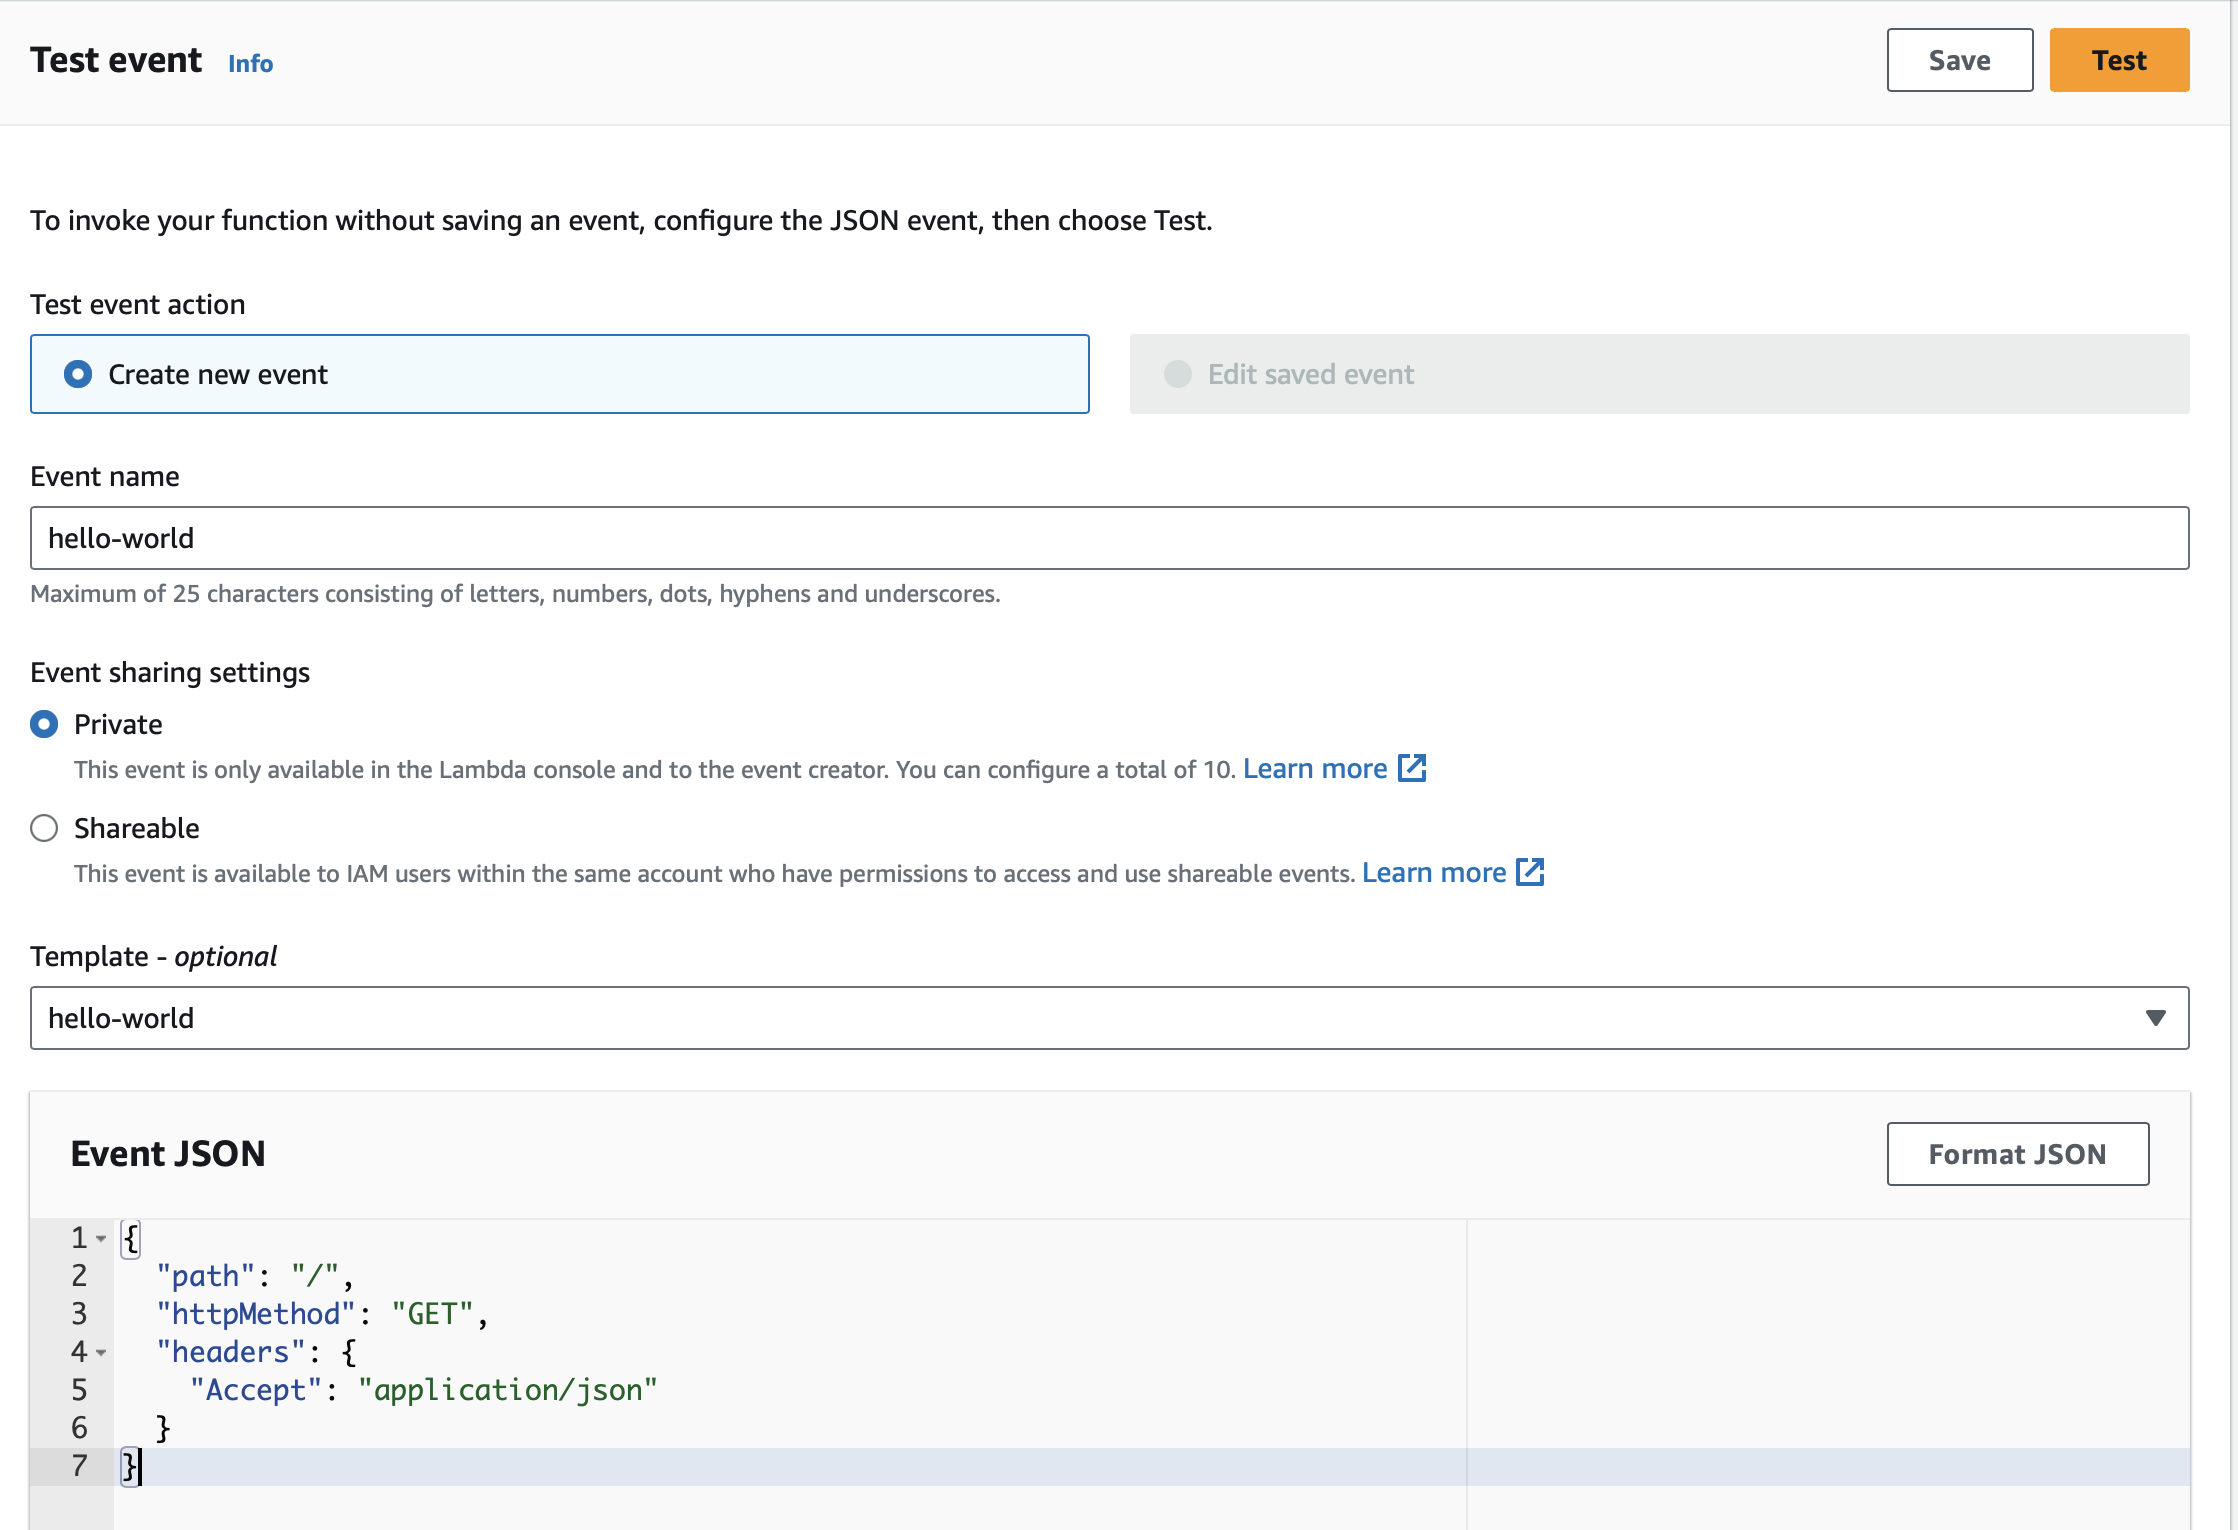
6.3. Test
You can test it easily with a JSON Event:
{
"path": "/",
"httpMethod": "GET",
"headers": {
"Accept": "application/json"
}
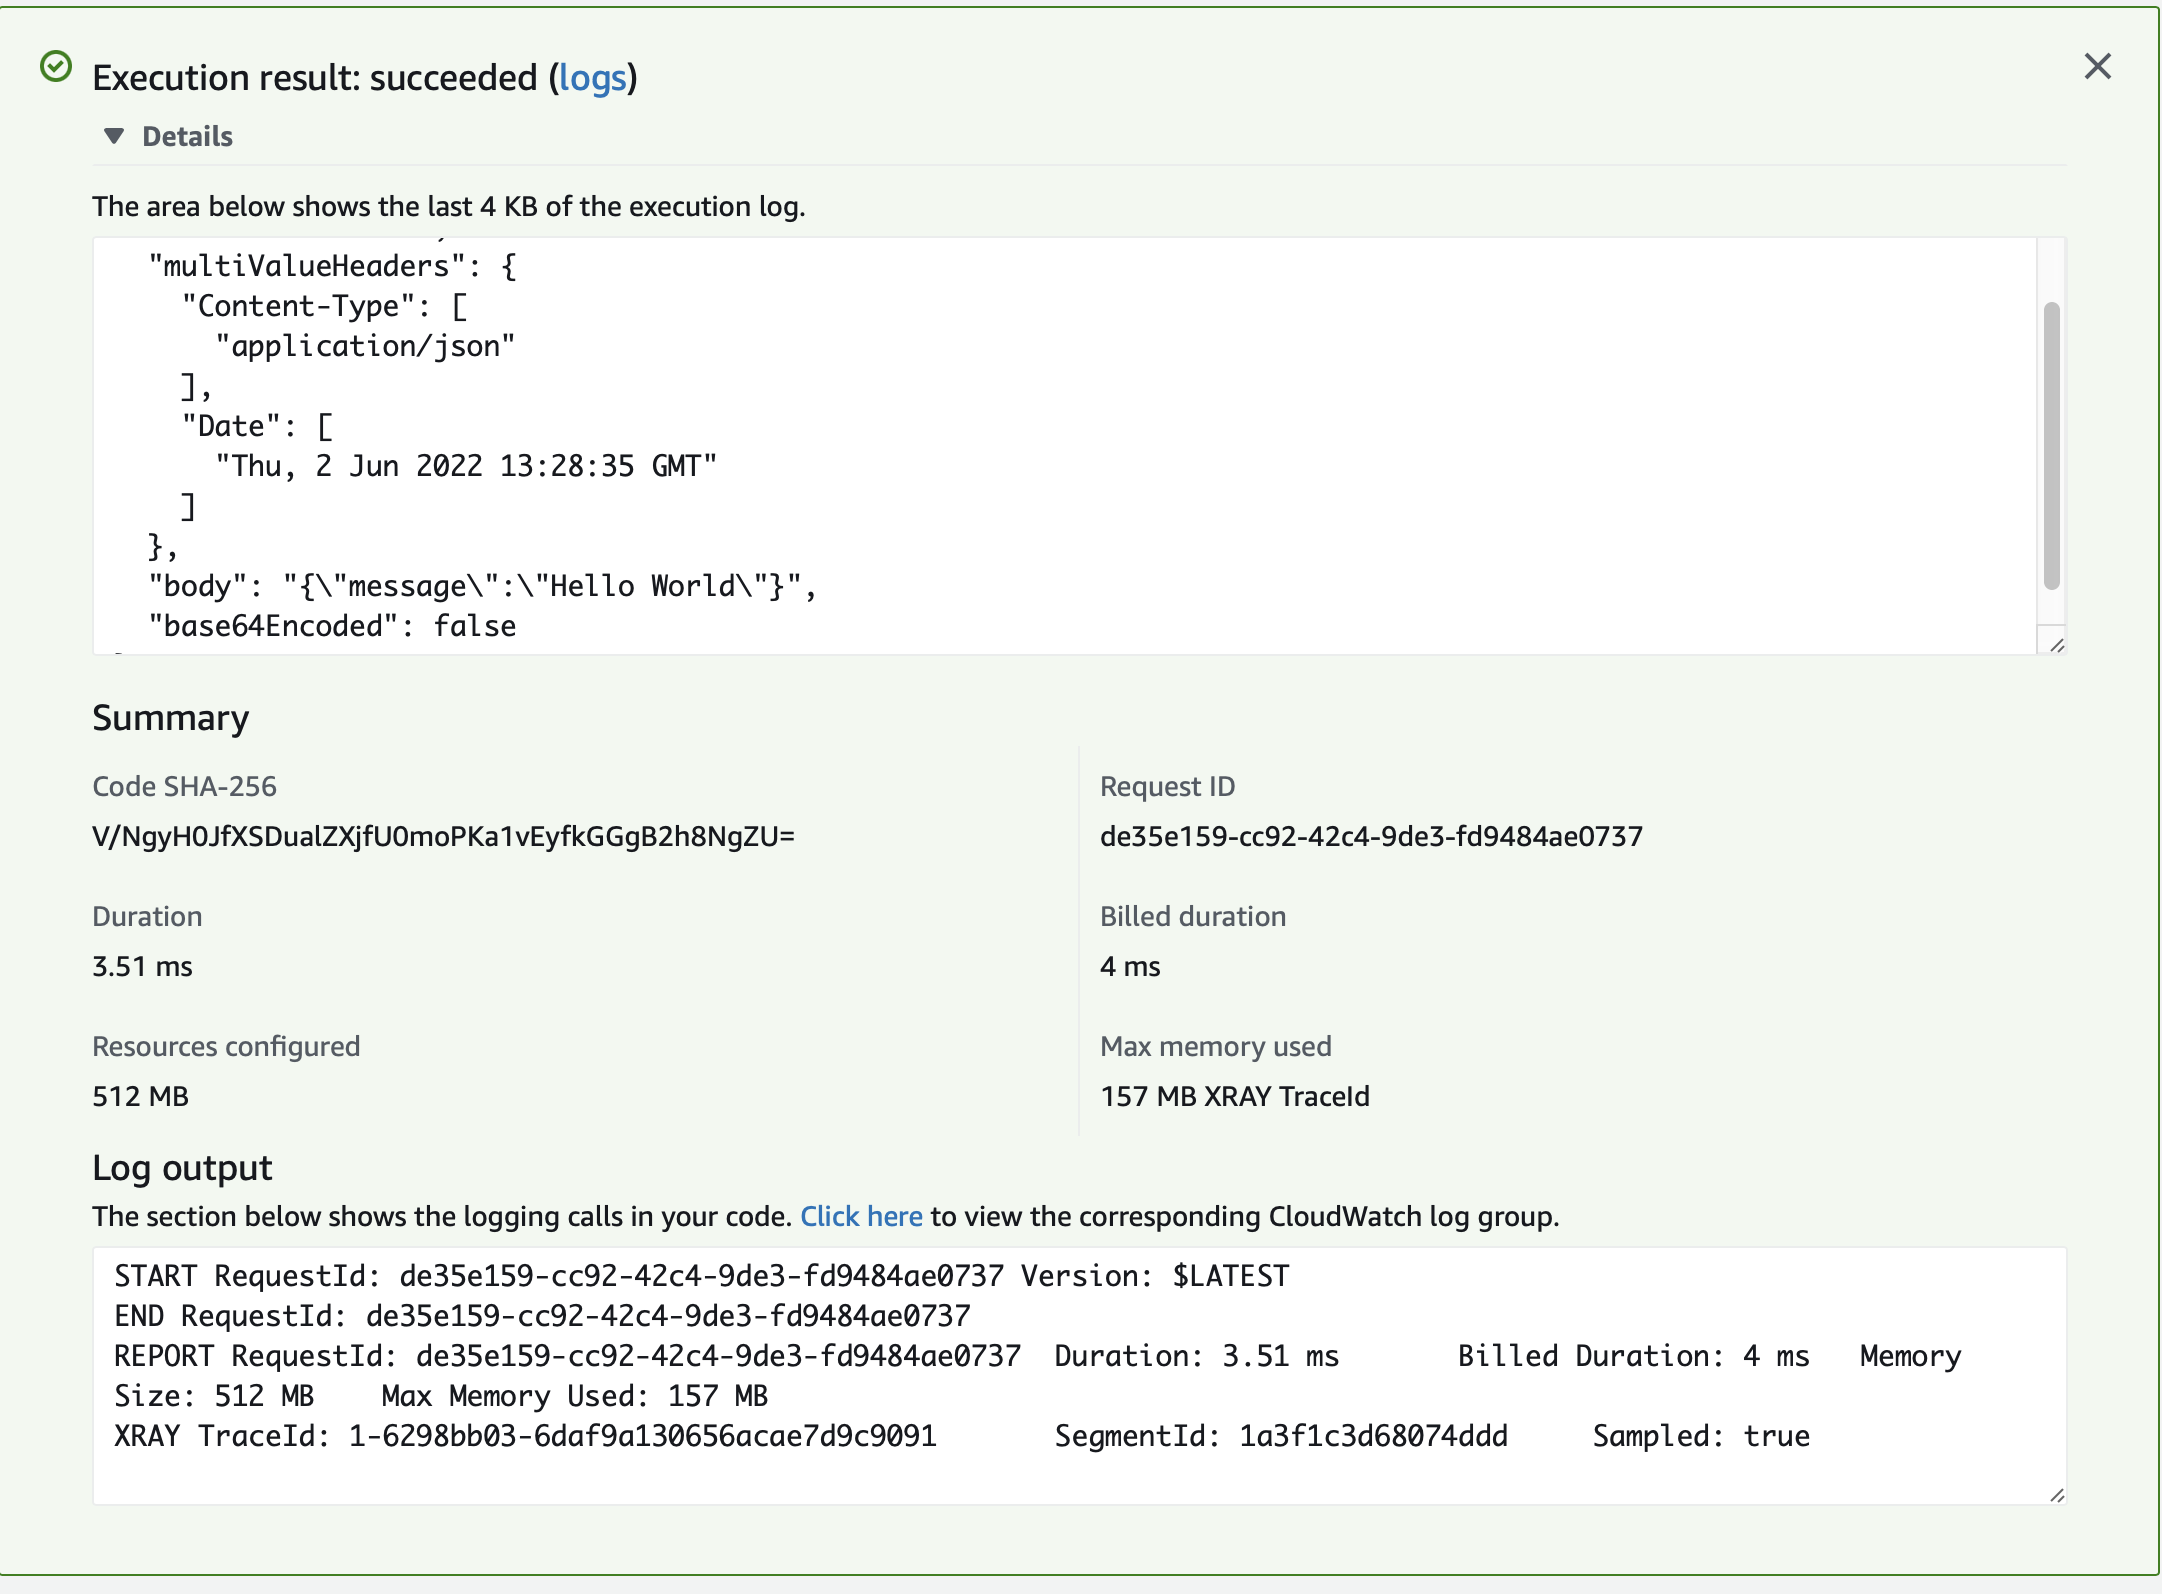
}When working with Amazon API Gateway, it’s easy to use apigateway-aws-proxy as an Event Template to get started:
You should see a 200 response:
7. Next steps
Explore more features with Micronaut Guides.
Read more about:
8. Help with the Micronaut Framework
The Micronaut Foundation sponsored the creation of this Guide. A variety of consulting and support services are available.